COPYRIGHT, PLEASE NOTE
Sunday, April 6, 2008
How to do Stereo Image pairs, Step by Step instructions
-
STEP 2
In Step 2 we will separate all the stars to the new layer
and supress all the stars from Background layer
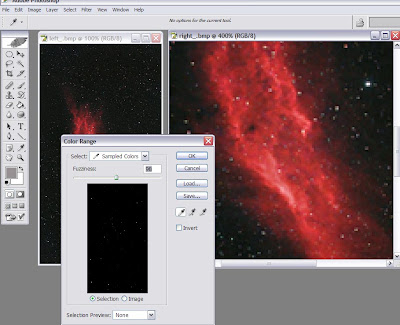
Zoom in the image and select stars by using the "color range" tool
under the "select" menu.
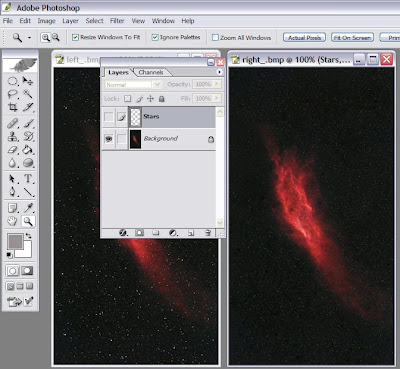 The image in PS should look somethin like this, whe layer "Stars" is turned off.
_
STEP 3
Now is time to add some volume to the image!
We'll do it by using "displacement map" technique in PS.
First duplicate the image "Right" destroy layer "Stars" and turn it to the grayscale image.
(Image/Mode menus and select "Grayscale")
-
Add some gausian blur to the grayscale image, in this example I have used
radius 5, but you might need to do some experiments.
Blur is used here, becouse we do not want to add "3D-noise" to the
image, sometimes it can work as an effect tough.
After that, save the image as "DisMap.psd", note it has to be in PSD-format!
_
Under the "Filters" menu select "Distort" and there pick the command "Displace"
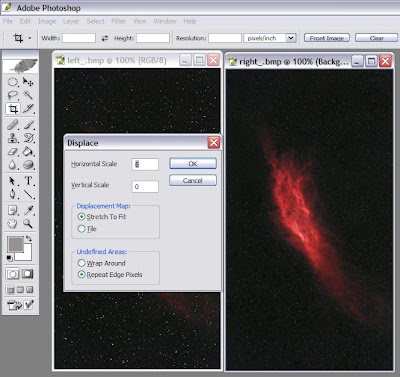
In control window, select "Stretch to fit" and "Repeat Edge Pixels" put "Vertical Scale" to 0
and the "Horizontal Scale" to, lets say, 5.
The Horizontal value has direct influence how strong
the 3D-appearance will be, it's very easy to overdo, so you might need to do some experiments.
Clic OK.
Filter then ask you to pick up the "Displacement Map", use one you created in previous step.
_
STEP 4
After step 3, we have a "Raw" stereo pair image. You can now see how it looks!
If the effect is too strong or weak, just go back few setps and adjust values in Displacement
menu.
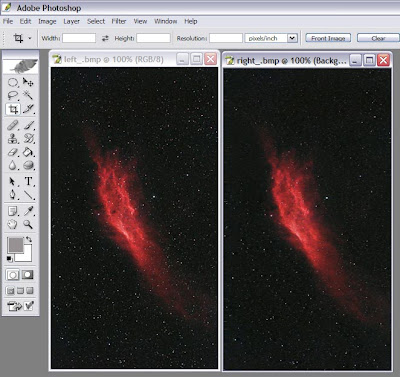 As you can see, there is allready 3D-appearance in image.
Stars are still "flat" and the object is "glued" to the background.
_
First we handle the object.
Select the main object loosly with the "Lasso" tool,
and add some "feather" to the selection, value 12 is used here.
Turn the selection to the new layer, name it as "Object1".
(Here is just one main object, but there can be several of them)
_
After that we can modify the objet's location in Z-axil and allso its "tilt"
in the space.
In this case, moving objet to the Left moves it closer the viewer and moving it to the Right
moves it deeper in image.
You can control it by moving object with the arrow buttons while looking the object as stereo
at the same time.
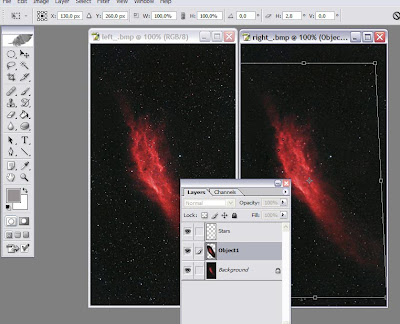 To changes object "tilt" in Z-axel we use "Transform" commands under the "edit" menu.
Select command "Distor" and skew the image as seen in picture above. You should stil look
the image pair as a stero at the same time to see the effect.
Remember again, it's very easy to overdo it.
-
STEP 5
Now we have the object located as we want it to be.
In this step we will take care of stars.
We want that stars are frorming a volume, not a plane.
If there is juts few stars, we can move them manually with same manner as we moved the main
object.
But if there is hundrets of stars it's too much work to move them one by one.
We have all the brighter stars allready in separate layer, now we just have to select them with
"random" manner to be able to build a realistic volume.
First we will create a "selection map" for the stars.
_
Duplicate the image, flattent the layers, fill it with neutral gray and scale it down 25%.
Select command "Noise" under the "Filter" menu.
Under the "Noise" selct command "Add Noise"
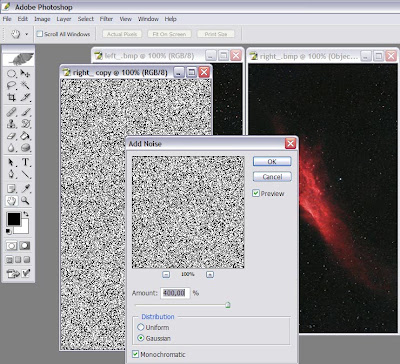 Use values as seen in the image above.
-
Scale image up 400% by using "Nearest Neighbor" method under the "Image Size" menu.
Use command "Color Range" under the "Select" menu to select lighter pixels
in crated Noise image.
_
After that move the created selection to the "Rigt" image and use command "create a New Layer by Cut"
You can now use the same selection, rotated and/or scaled, to create more new layers with
separated stars.
_
Now we can move star layers smal amount to the different directions, and create
some smooth volume to the star field.
-
There is still many very faint stars at image backgound, we can use same method to them
as above. The object is in separate layer, so it will stay unharmed.
Use even more delecate movements for background stars.
-
NOTE!
Use very small movements at first, you will easily destroy the stereo effect with
too strong movements.
Brighter, separate stars can be moved manually, use clone tool to move stars
and erase original. (We can assume, that very bright stars are closer than dim ones)
-
NOTE 2!
For more realistic look you can divide stars to different layers by using the star brightness as a selection criteria. You can use "Select Color Range" command together with gaussian blur to
make selection as accurate as possible. More layers you use , more accurate is the result.
-
STEP 6
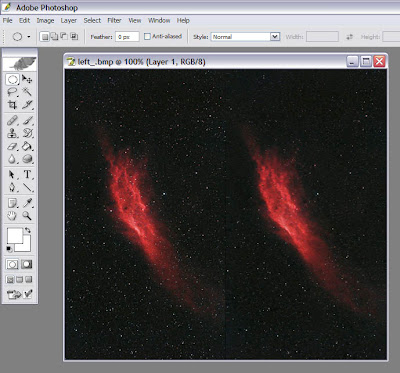
We have created a image pair for the Parallel Vision.
To create one for the Cross vision we just swap the images horizontaly.
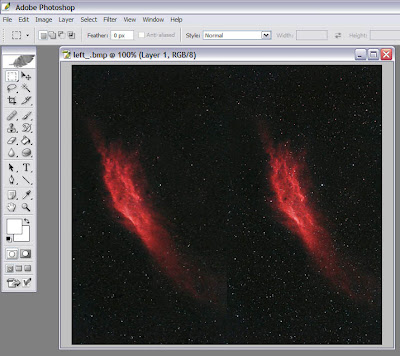 The image pair for the Cross vision
Friday, April 4, 2008
The Great Sh2-240 as a Stereo pair
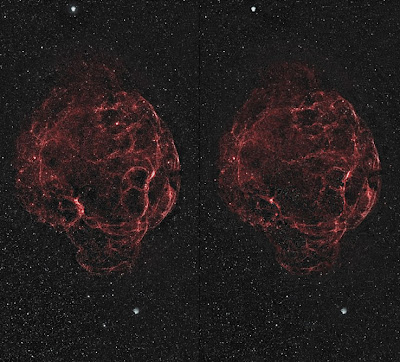 Image pair for Parallel Vision
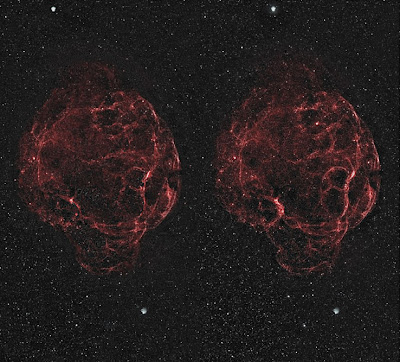 Image pair for Cross Vision
Thursday, April 3, 2008
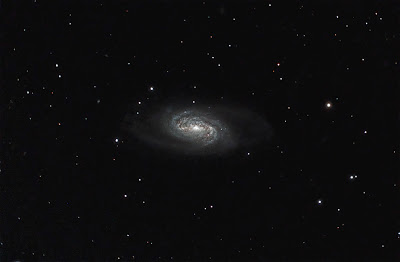
NGC 2903
Wednesday, April 2, 2008
NGC 4565


