COPYRIGHT, PLEASE NOTE
All the material on this website is copyrighted to J-P Metsavainio, if not otherwise stated. Any content on this website may not be reproduced without the author’s permission.
BUY A MUSEUM QUALITY POSTER
BUY A POSTER:https://astroanarchy.zenfolio.com/
Friday, August 27, 2021
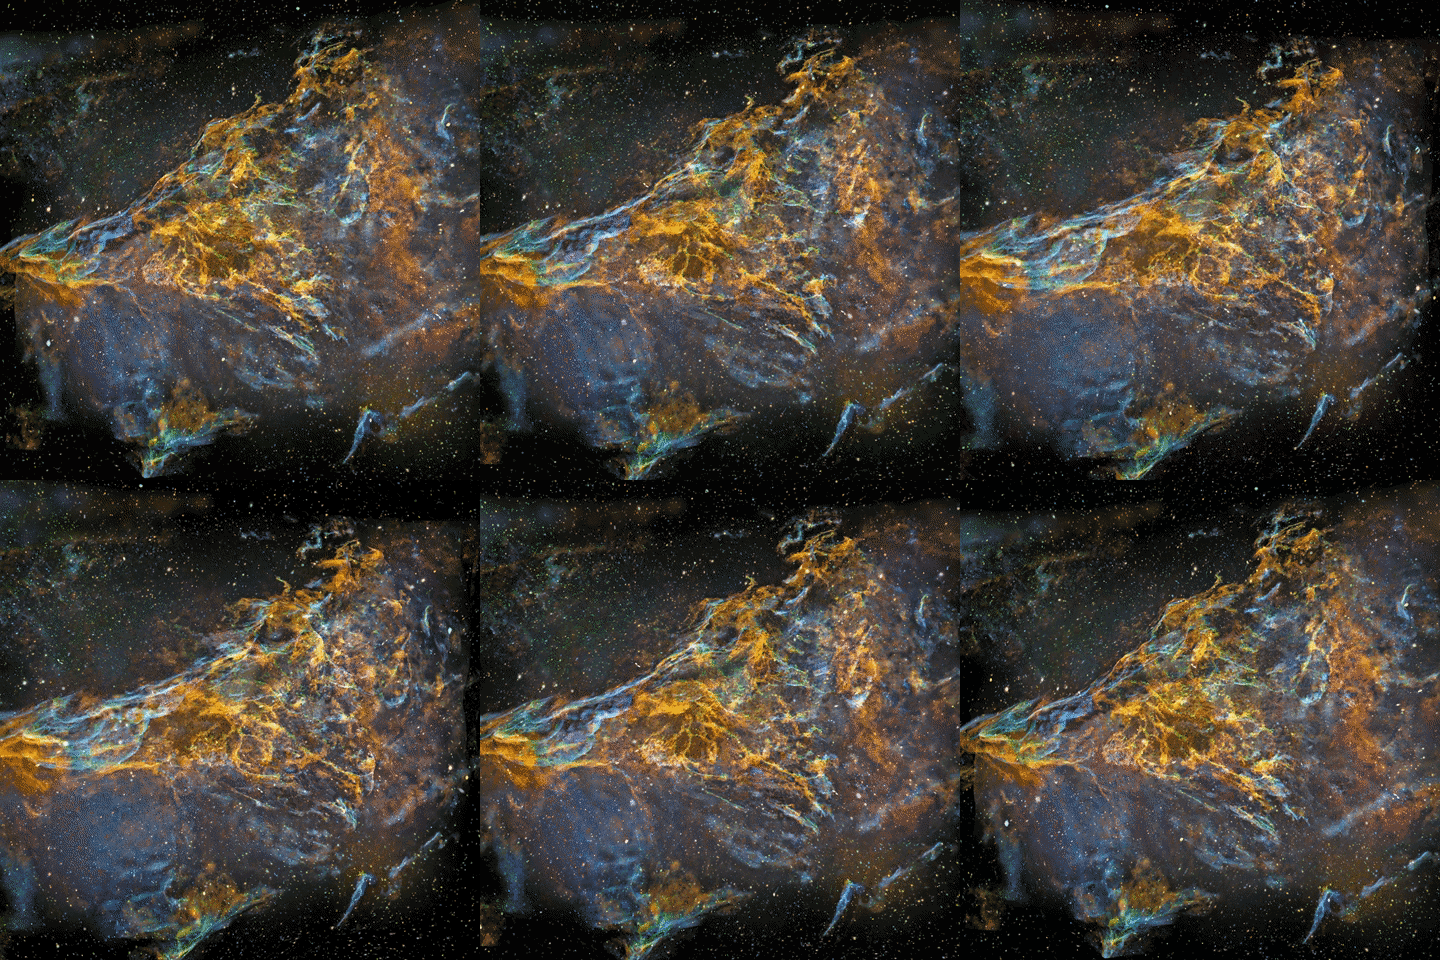
Visions of Veil
This is an experimental test with a 3D-conversion of my astronomical image. Only real elements from the original image are used, there is nothing added but the estimated volumetric information!
NOTE. This is a personal vision about shapes and volumes, based on some scientific data, deduction and an artistic impression.NFT of this video is for sale @SuperRare
Visions of Veil
Original 2D Image, NASA APOD 2015
Click for a large image
How is the volume added to my photos?
Importantly, for as long as I have captured images of celestial objects, I have always seen them in three dimensions in the theatre of my mind. I did develop a unique process to create scientifically accurate 3D volumetric images of 'my' nebulas. The final 3D volumetric image is always an appraised simulation of reality based on known scientific data, deduction, and some artistic creativity.
After I have collected all the necessary scientific information about my target, I start my 3-D conversion using the stars in the image. Usually there is a recognizable star cluster which is responsible for ionizing the nebula. We don’t need to know its absolute location since we know its relative location. Stars ionizing the nebula have to be very close to the nebula structure itself. I usually divide up the rest of the stars by their apparent brightness, which can then be used as an indicator of their distances, brighter being closer. If true star distances are available, I use them, but most of the time my rule of thumb is sufficient. By using a scientific estimate of the distance of the Milky Way object, I can then locate the correct number of stars in front of it and behind it.
Emission nebulae are not lit up directly by starlight; they are usually way too large for that. Rather, stellar radiation ionizes elements within the gas cloud. So, it’s the nebula itself that is glowing. (The principle is very much the same as in fluorescent tubes.) The thickness of the nebula can be estimated from its brightness, since the whole volume of gas is glowing, brighter means thicker. Nebulae are also more or less transparent, so we can see both sides of it at the same time, and this makes model-making a little easier since not much is hidden.
The local stellar wind, from the star cluster inside the nebula, shapes the nebula by blowing away the gas around the star cluster. The stellar wind usually forms a kind of cavity in the nebulosity. The collapsing gas can resist the stellar wind and produces pillar like formations which must point to a cluster.
Oxygen needs a lot energy to ionize it, this can only be achieved relatively close to the star cluster in the nebula. I use this information to position the O-III area (the bluish glow) at the correct distance relative to the heart of the nebula.
Many other small indicators can be found by carefully studying the image itself. For example, if there is a dark nebula in the image, it must be located in front of the emission nebula, otherwise we can’t see it.
Explosions in space are more or less symmetrical, due to that, most of the supernova remnants and planetary nebulae mainly has a ball like appearance.
Using the known data in this way I build a kind of skeleton model of the nebula. Then the artistic part is mixed with the scientific and logical elements, and after that the rest is very much like creating a sculpture on a cosmic scale.
Labels:
animations
Subscribe to:
Post Comments (Atom)


No comments:
Post a Comment